Post Categories on WordPress allow you to separate your articles and gives you a way to filter this on the front-end.
An example would be having a latest news section of your homepage. By placing a new article into the ‘Latest News’ post category, it will show these articles on the news filter.
If you are looking for a custom build WordPress site, reach out and see how we can help you.
Step 1 : Finding where to create a post category in your dashboard
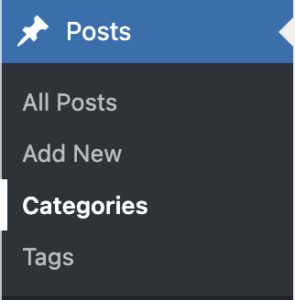
A menu displays down the left-hand side of the dashboard, select posts > Categories.

Step 2 : Choosing a name and writing a description
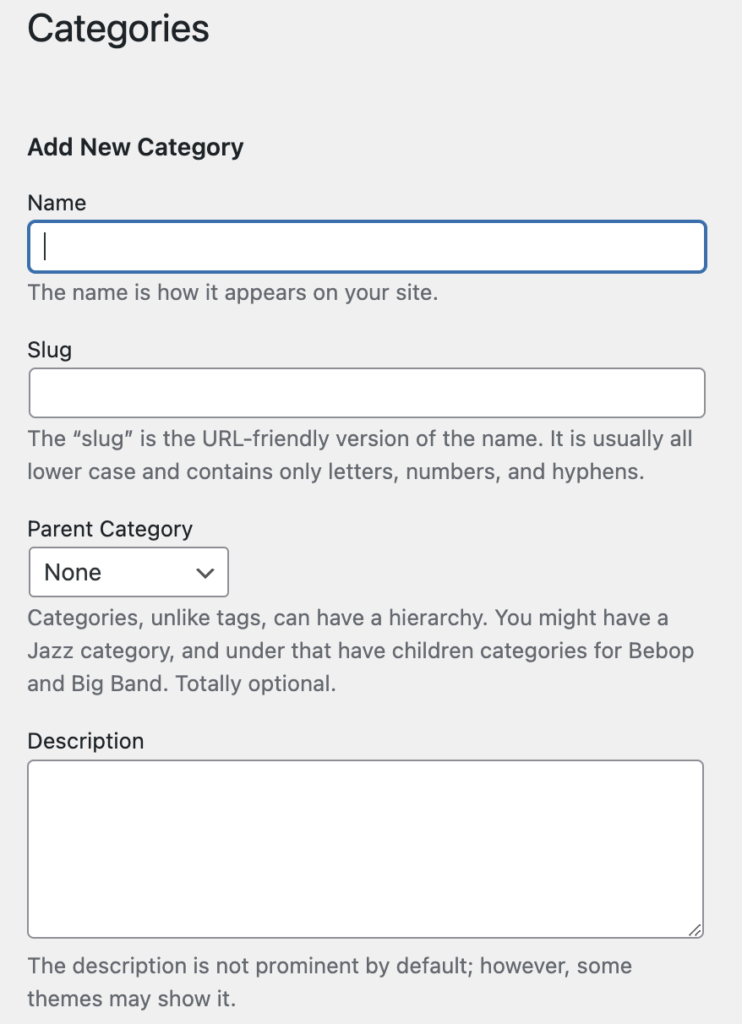
When creating Post Categories on WordPress, it will allow you to choose a name, slug, parent category and description.
The name is how the category will appear on your site. The slug is the URL version of thename. It is usually all lower case and contains only letters, numbers, and hyphens.
Parent categories allow you to create subcategories of pre-existing categories. For instance, this article you are reading belongs to the ‘WordPress’ Categories. But if we were to make a category called ‘WordPress Hosting’, then the ‘WordPress’ category would be a parent category to our new one.
The description is a way to describe the category of news in a few sentences

Step 3 : Making the Post Category Live
When you have finished writing your description and choose your category name. You can click the ‘Add New Category’ button and push the category live, ready to use.


