Adding a project to WordPress is a great way of keeping a catalogue of your work. Whether that is previous builds you’ve done as an architect, Memberships you offer as a subscription business and lots more.
We utilise the project post functionality on WordPress and in some cases we may have renamed projects to case studies or portfolio or something more relevant to your offering.
Step 1: Finding where to upload a project in your WordPress dashboard
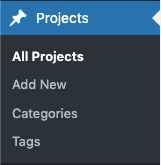
Log into your WordPress dashboard, you will see a menu down the left side of your screen, go to Project > Add New.
Like mentioned above, we may have renamed projects to a more relevant key word for your business. If you are not sure what that is, reach out to us.
Step 2: Adding a title and body to the project
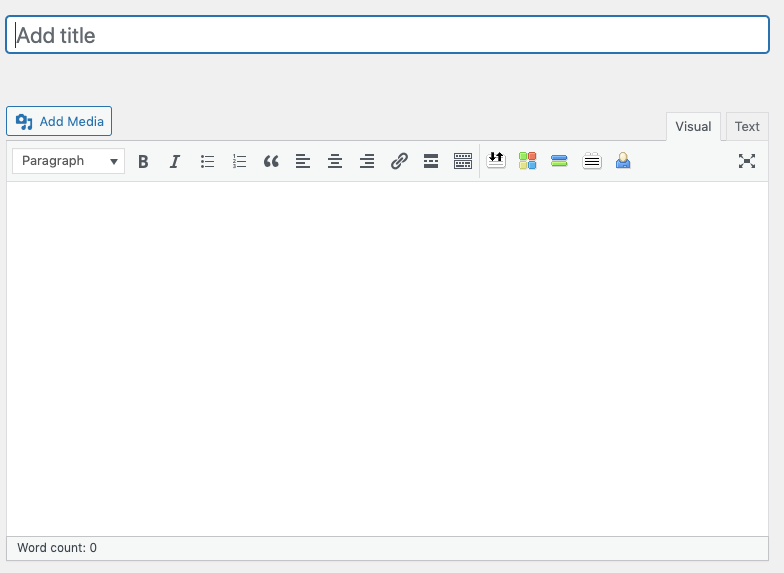
The title of a project post is important, it is a snapshot to gain attention and get the user to take action. The wording used is vital to the success of the project, keeping it short and simple is always recommended.
The body of a project may vary depending on your websites setup. You will have a paragraph box to fill out as standard and below that you may have field options to fill out such as text, text area, number, range, email, URL, image and lots more.
Step 3: Setting the date & time of your project
There are a few options when it comes to the date & time of your project. You can leave it as the real date & time when you are posting your project. You can back date the post to a previous date & time or you can schedule the project for the future.
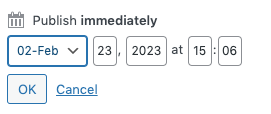
On the right hand side of the page, you will see a menu, within the publish tab you will see you can edit the publish time. There will be text that says ‘Immediately’. Click edit, a pop up will display, allowing you to adjust the time & date.
Step 4: Assigning the project to categories
Depending on how your website has been set up, it may use categories to filter projects. This allows the website to call up specific categories of projects on the relevant pages. For instance, if you had projects relating to ‘New Houses’ and you had a page with New Houses For Sale. Having a category for ‘New Houses’ would allow news filtered to that.
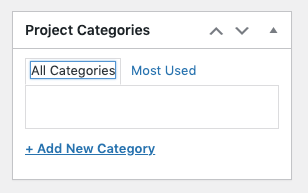
Below the publish tab, you will see a tab called ‘Project Categories’. In there you will see the existing categories of the website. At the bottom you will see an option to add a new category.
Step 5: Setting a featured image for the project
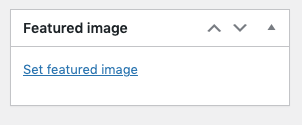
Setting a featured image will give your project an image that represents it. This is often used in the development of your pages on the website to form part of the layout.
Within the side menu, if you scroll down you will see a ‘Featured image’ tab. Click on the live link text that says ‘Set featured image’.
