Adding posts are a great way to keep your clients, customers & followers up to date with the latest news.
It’s also a great way to boost your websites SEO by answering questions from potential customers. You can use a variety of tactics to make your site more attractive to visitors and rank higher on the search engines.
Step 1: Finding where to upload a blog post in your WordPress dashboard
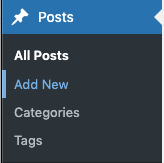
Log into your WordPress dashboard, you will see a menu down the left side of your screen, go to Posts > Add New.
Step 2: Adding a title and body to the post
The title of a blog post is important, it is a snapshot to gain attention and entice people to start reading on. The wording used is vital to the success of the post, keeping it short and simple is always recommended.
The body of a blog post works in blocks. You can type out paragraph blocks or click on the hovering black + button to the right side of the blank page. This will give you options such as; image, paragraph, heading & spacer etc.

Step 3: Setting the date & time of your blog post
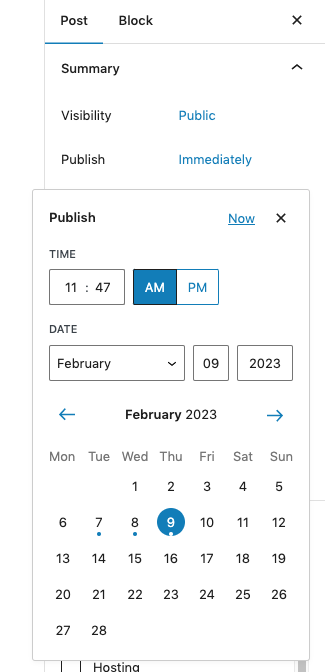
There are a few options when it comes to the date & time of your blog post. You can leave it as the real date & time when you are posting your blog. You can back date the post to a previous date & time or you can schedule the post for the future.
On the right hand side of the page, you will see a menu, within the post tab you will see the summary > Publish. There will be a live link text that says ‘Immediately’. Click that text, a pop up will display, allowing you to adjust the time & date.
Step 4: Setting the post author
You can set the post author from within the post tab, summary > author. This will allow you to choose any user account to be the author of the post. User accounts are set up within the WordPress dashboard. If you need to create a new user account, you can read our article on setting up user accounts in WordPress.

Step 5: Assigning the post to categories
Depending on how your website has been set up, it may use categories to filter news posts. This allows the website to call up specific categories of news on the relevant pages. For instance, if you had news relating to ‘The Farm’ and you had a page with the latest farm news. Having a category for ‘The Farm’ would allow news filtered to that.
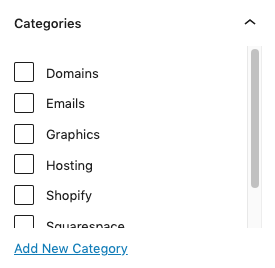
Below summary in the post tab, you will see a dropdown called Categories. In there you will see the existing categories of the website. At the bottom you will see an option to add a new category.
Step 6: Setting a featured image for the post
Setting a featured image will give your blog post an image that represents it. This is often used in the development of your news pages on the website to form part of the layout.
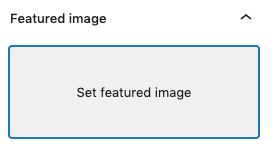
Within the post tab, if you scroll down the menu, you will see a ‘Featured image’ dropdown. Click on the grey rectangle that says ‘Set featured image’.
B
Step 7: Adding an excerpt to your post
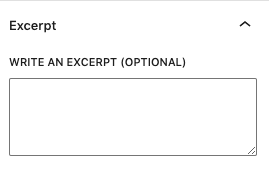
We usually take the first line of text from the blog post and add that to the excerpt to entice the reader to click and read the full article. But you could go the extra mile and write these custom to give a snippet of the post.
At the bottom of the post tab you will see a dropdown called excerpts. This is where you will copy and paste the text or write from scratch.
